
BeagleBone 101
Software Updates
While there are many possible ways to boot your Beagle, every BeagleBoard and BeagleBone is capable of booting off an SD (or microSD) card. To utilize the latest software from the BeagleBoard.org community, it is recommended you program an SD card with the latest image, try it out and then commit the image to your on-board flash if your board has one and you are happy with the functionality of this new software.
Note that not all of the provided images consume the same amount of space. It is important to note the size of the image and the amount of space consumed within the image to know if it will fit within the space of your SD card and potentially your on-board eMMC flash.
Update board with latest software
Step #1: Download the latest software image
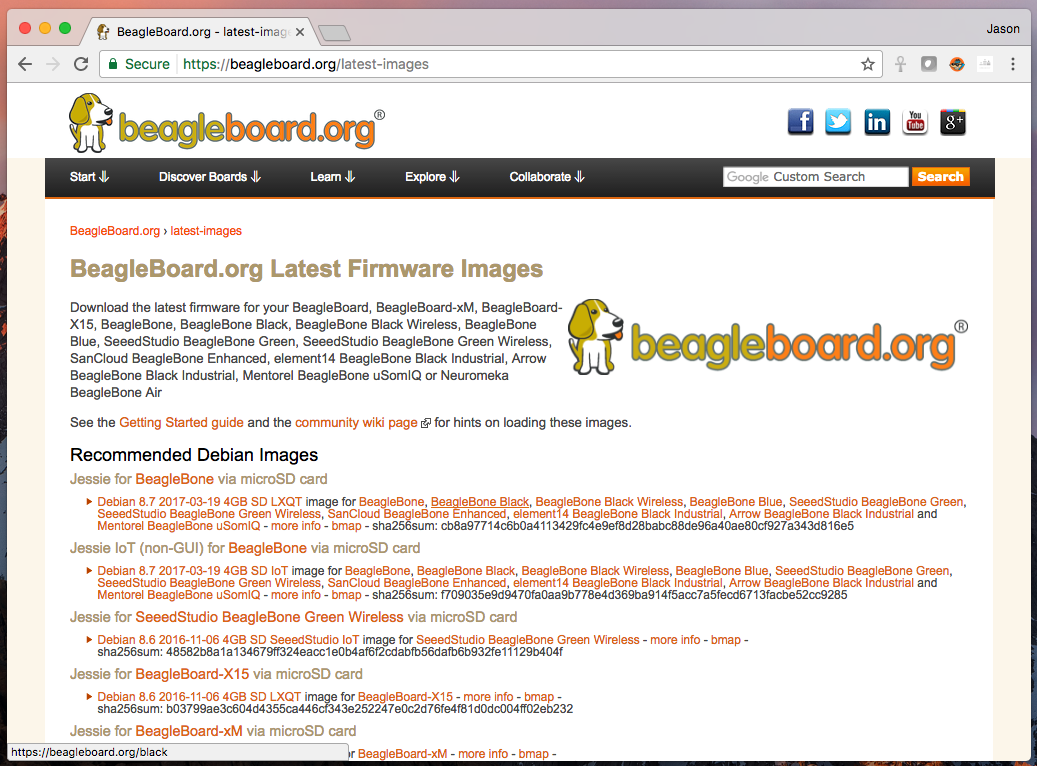
Download the lastest Debian image from beagleboard.org/latest-images. The "IoT" images provide more free disk space if you don't need to use a graphical user interface (GUI).
Note: Due to sizing necessities, this download may take 30 minutes or more.
The Debian distribution ships with the boards. The file you download will have an .img.xz extension. This is a compressed sector-by-sector image of the SD card.
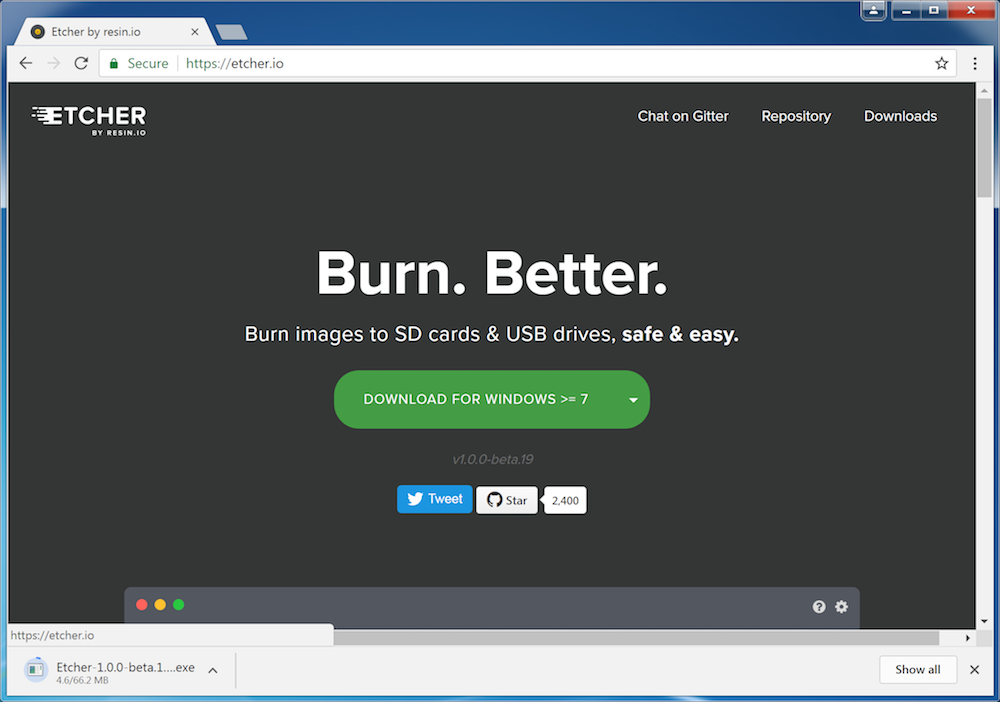
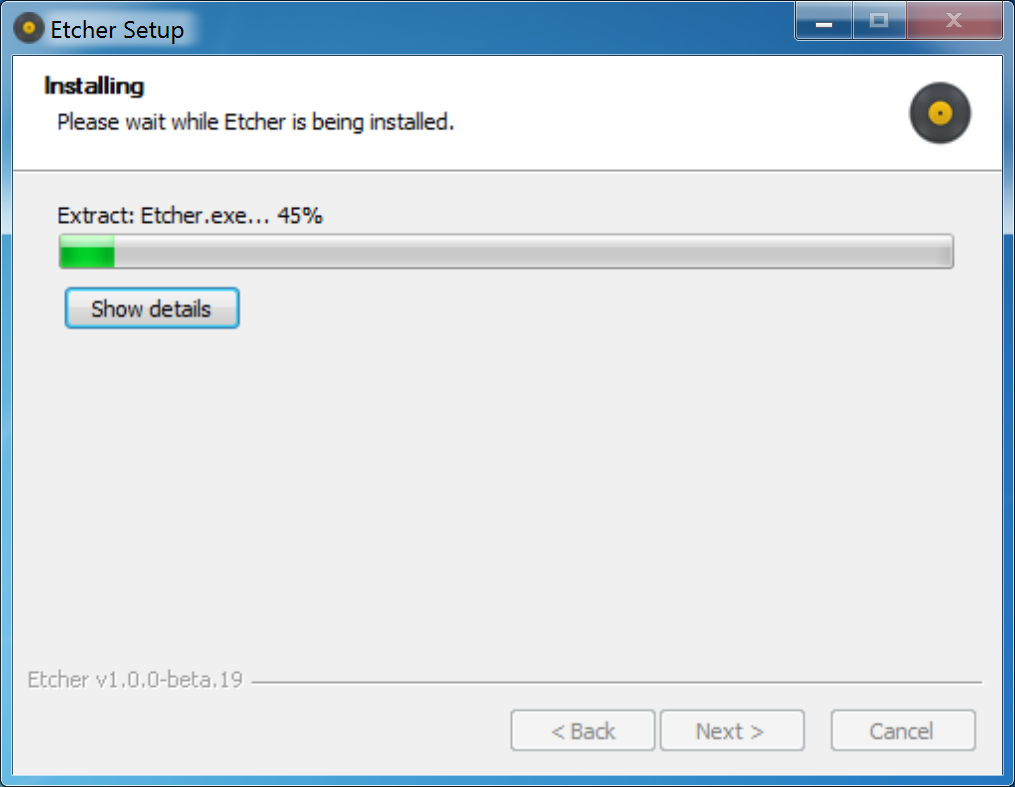
Step #2: Install SD card programming utility
Download and install Etcher.
Some general help on programming SD cards can be found on the Ubuntu Image Writer page.
Step #3: Connect SD card to your computer
Use your computer's SD slot or a USB adapter to connect the SD card to your computer.
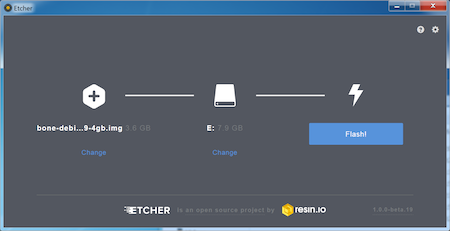
Step #4: Write the image to your SD card
Use Etcher to write the image to your SD card. Etcher will transparently decompress the image on-the-fly before writing it to the SD card.
Step #5: Eject the SD card
Eject the newly programmed SD card.
Step #6: Boot your board off of the SD card
Insert SD card into your (powered-down) board, hold down the USER/BOOT/SD button (if your board has one) and apply power.Note: this button will change the ROM boot mode of the processor on you board to prevent it from loading code from the on-board flash. If the software on you board was fairly recent and functional, pressing this button is completely optional.
If using a Beagle without on-board eMMC flash, you are done.
Step #7: Program your on-board blash (BeagleBone Black and boards with eMMC flash only)
If using BeagleBone Black or another Beagle with on-board eMMC flash and you want to write the image to your on-board eMMC, you'll need to follow the instructions at http://elinux.org/Beagleboard:BeagleBoneBlack_Debian#Flashing_eMMC and use an eMMC flasher image or turn one of the above downloaded images into one. The process for converting an image into an eMMC flasher image is summarized below.
When booted, edit the /boot/uEnv.txt file on the Linux partition on the microSD card and remove the '#' on the line with 'cmdline=init=/opt/scripts/tools/eMMC/init-eMMC-flasher-v3.sh'. Enabling this will cause booting the microSD card to flash the eMMC. eMMC flasher images are no longer immediately recommended to avoid people accidentally overwriting their eMMC flash.
Shutdown cleanly and repeat Step #6.
You'll now need to wait while the programming occurs. When the flashing is complete, all 4 USRx LEDs will be lit solid.
Note: This can take up to 30 minutes.
Power-down your board, remove the SD card and apply power again to be complete.